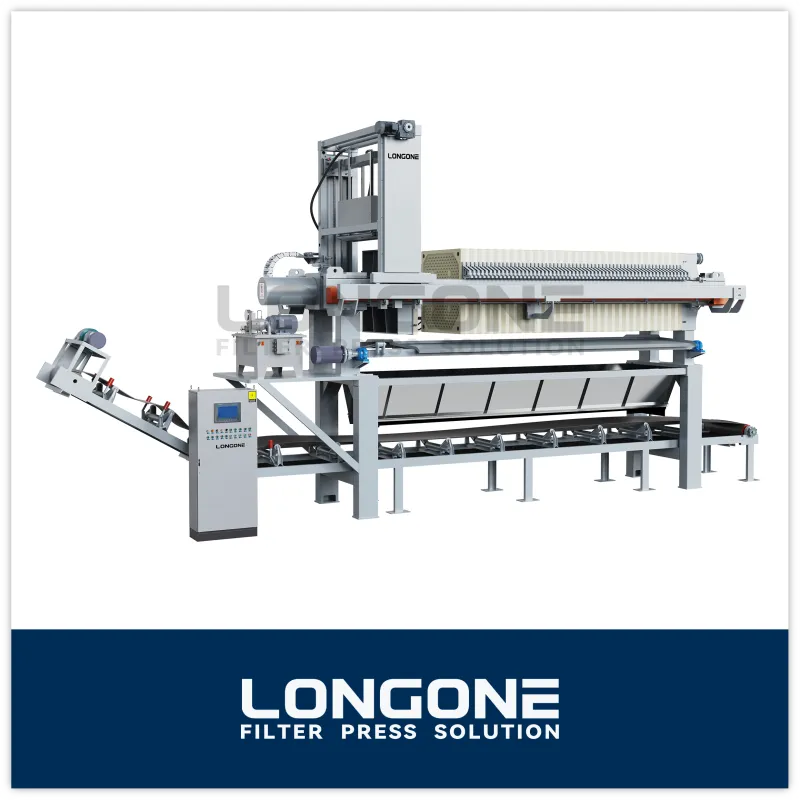
Struggling with a filter press leaking slurry all over your plant floor? This common problem is more than just a nuisance; it costs you in lost product, wasted time, and increased maintenance, while also creating a significant safety hazard. You know you need to stop the leak, but a trial-and-error approach can make the problem worse. The solution lies in a systematic approach to diagnose the root cause and apply the right fix the first time.
A filter press leaking is most often caused by a compromised seal between the filter plates. Common culprits include dirty sealing surfaces, wrinkled or damaged filter cloths, insufficient hydraulic closing pressure, or excessive slurry feed pressure. Other causes can be misaligned or cracked plates, faulty gaskets, or loose pipe connections.
Let’s dive into the diagnostic process and explore the 12 most frequent reasons for a leaking filter press.
What Does “Filter Press Leaking” Actually Mean?
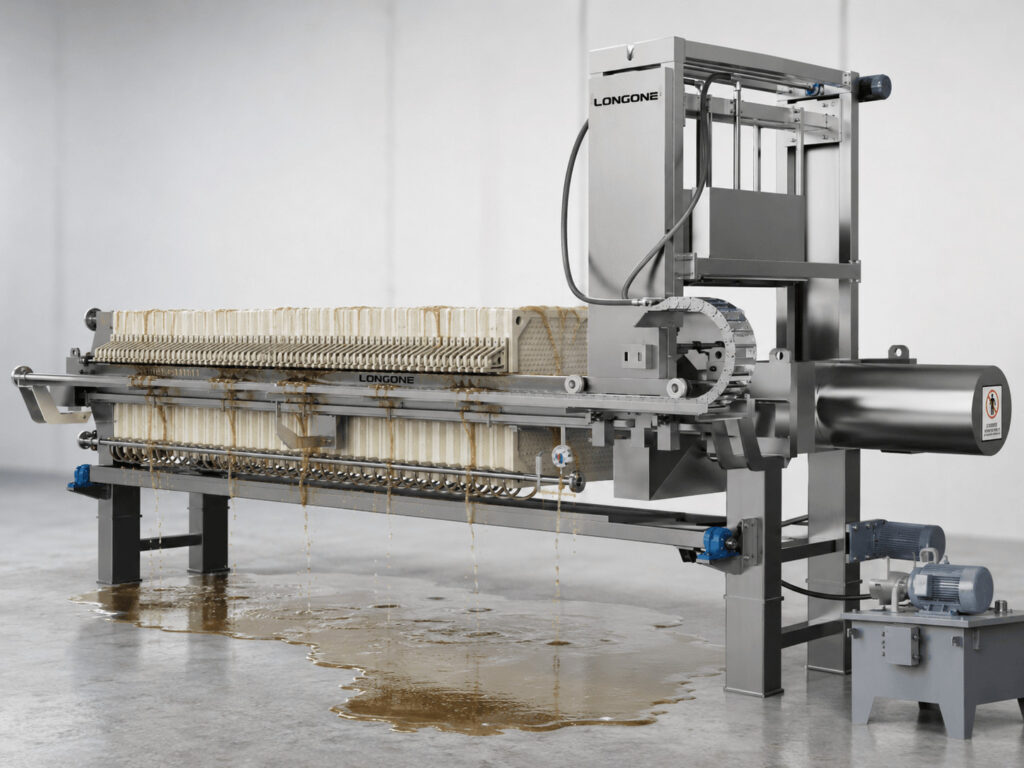
It seems obvious, but “leaking” can mean different things. Are you seeing slurry ooze out from between the filter plates? Is your filtrate, the liquid that should be clear, coming out cloudy? Or is the leak coming from a pipe, valve, or even the hydraulic unit? Pinpointing the type and location of the leak is the critical first step in troubleshooting.
A small, persistent drip is not a normal operating condition. It’s an early warning sign. Ignoring it allows slurry to erode filter cloth edges and contaminate plate sealing surfaces. This contamination can lead to uneven cake formation, which puts imbalanced stress on the filter plates and can eventually lead to major failures and costly downtime.
Before we get into the specific causes, here is a quick diagnostic map. In my experience, using a chart like this can cut troubleshooting time in half. It helps you connect the symptoms you see directly to the most probable causes.
Filter Press Leak Diagnostic Map
| Leak Location | When It Starts | Most Likely Cause(s) | What to Check | Corrective Action |
|---|---|---|---|---|
| Between one or two plates | During feed cycle | – Wrinkled/folded filter cloth – Debris on sealing surface – Damaged gasket (CGR plate) – Cracked/warped plate | Cloth installation, plate sealing surfaces, gasket condition, plate integrity. | Clean surfaces, reinstall cloth, replace gasket or damaged plate. |
| Between most/all plates | During feed cycle | – Insufficient hydraulic closing pressure – Excessive feed pressure – Misaligned plate pack | Hydraulic pressure gauge, feed pressure gauge, plate alignment. | Verify and adjust hydraulic pressure, reduce feed pressure, realign plate stack. |
| Filtrate discharge ports | During feed cycle | – Torn or worn filter cloth – Improper cloth installation (e.g., loose neck) – Solids bypassing before cake forms | Filtrate clarity, cloth condition (holes, tears), cloth neck connection. | Replace filter cloth, ensure proper installation. |
| Feed head or tail stock | During feed cycle | – Loose pipe/flange connection – Damaged valve or feed line | All pipe connections, valves, and gaskets on the manifold. | Tighten connections, replace worn gaskets or damaged components. |
| Hydraulic cylinder/power unit | At any time | – Worn hydraulic seals – Loose hydraulic fittings – Damaged hydraulic hose | Hydraulic cylinder, hoses, fittings, and oil level in the reservoir. | Tighten fittings, replace seals, or replace damaged hose. |
| From plates | During membrane squeeze or cake wash | – Torn membrane – Squeeze pressure too high – Wash channel blockage | Membrane surface, squeeze/wash pressure gauges, wash port cleanliness. | Replace membrane, adjust pressures to spec, clean wash channels. |
Stop the Press First: Essential Safety Precautions?
Before you even think about putting a wrench on the machine, you need to ensure it’s safe to work on. A filter press operates under immense hydraulic and feed pressures, creating serious potential hazards. Overlooking safety can lead to severe injury or equipment damage.
The absolute first step is to follow proper Lockout/Tagout (LOTO) procedures. This isn’t just a recommendation; it’s a critical safety protocol. You must ensure that no one can accidentally start the press while you are inspecting or servicing it.
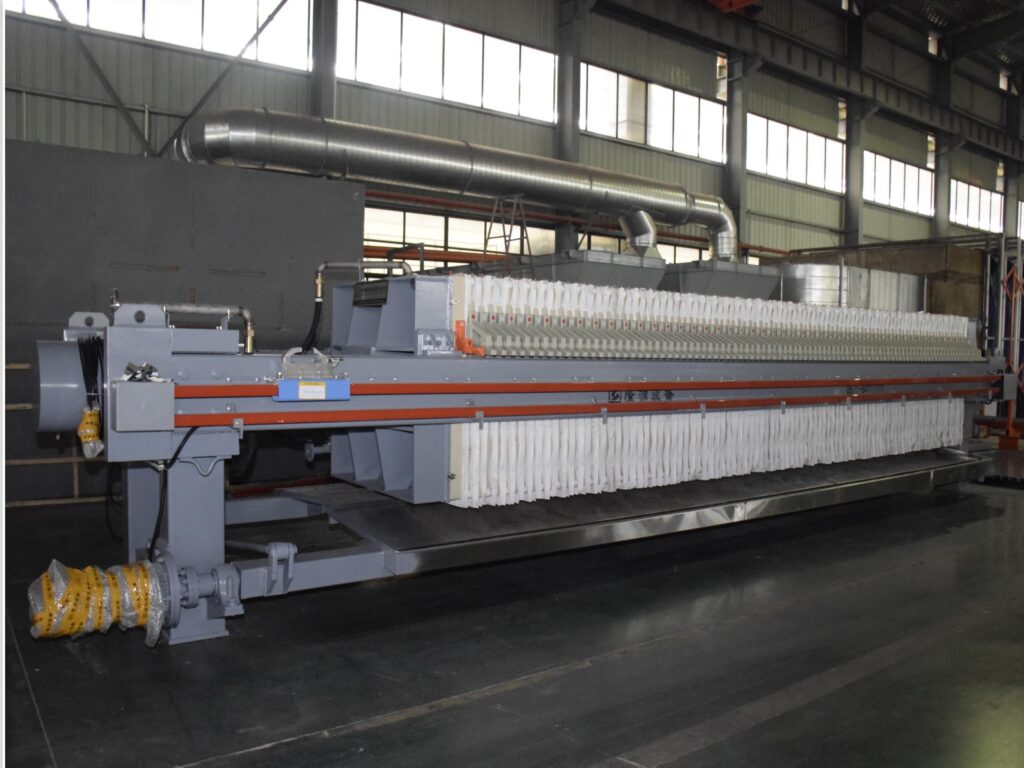
Before proceeding with any inspection or repair, always follow these critical steps. There are no shortcuts when it comes to safety. In my years on plant floors, I’ve seen what happens when these steps are skipped, and the consequences are never good.
Safety Checklist Before Troubleshooting
- Stop the Feed Pump: The very first action is to turn off the slurry feed pump.
- Isolate the Press: Close all inlet and outlet valves to isolate the filter press from the rest of the system.
- Depressurize the System: Safely open bleed valves to release any stored pressure from the slurry manifold and inside the filter plates. For membrane presses, ensure the squeeze pressure is also fully bled off.
- Power Down: Turn off the main electrical disconnect for the filter press hydraulic power unit (HPU).
- Lockout/Tagout (LOTO): Apply your personal lock and tag to the electrical disconnect. This ensures the machine cannot be re-energized while you are working on it.
- Open the Press: Only after the press is fully de-energized and depressurized should you open the hydraulic system to retract the follower and separate the filter plates for inspection.
Why is My Filter Press Leaking from Dirty Filter Plate Sealing Surfaces?
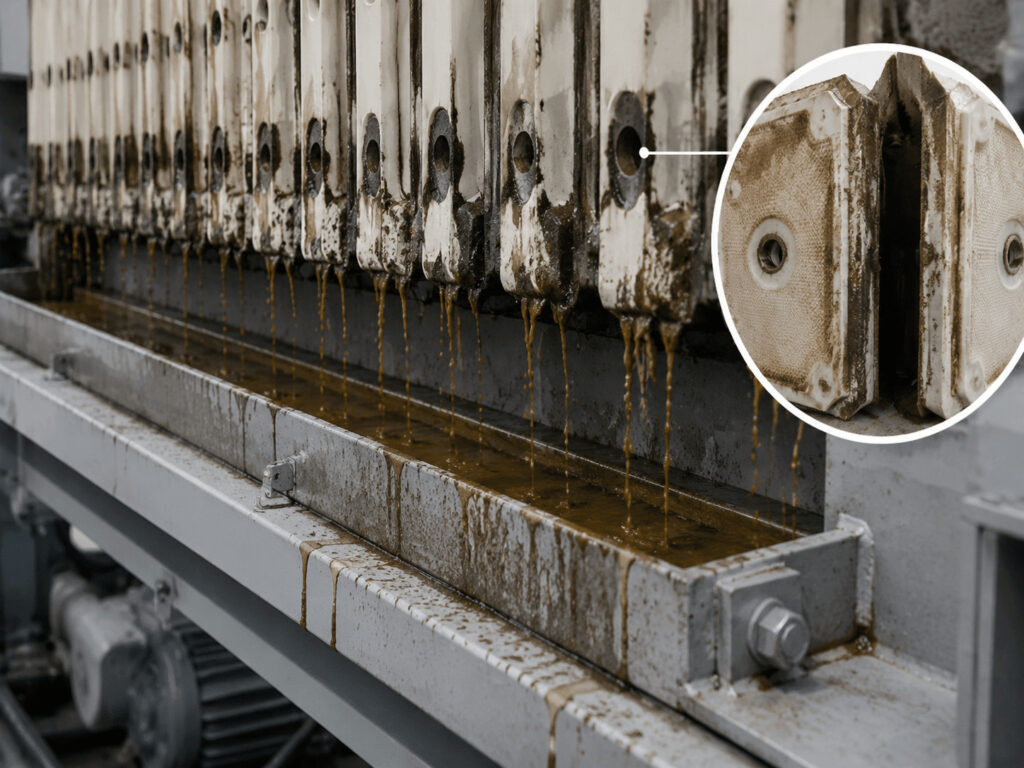
Think of your filter plates like a deck of cards. If you stack them perfectly, they are flush. But if you put a grain of sand between two cards, you create a gap. Dried slurry or other debris on the sealing surfaces of a filter plate acts just like that grain of sand, creating a channel for leaks.
This is arguably the most common and easiest-to-fix cause of a filter press leaking. Over time, small amounts of slurry can dry and build up on the edges of the plates where they are supposed to form a perfect seal, preventing a tight closure.
The fix is straightforward but requires diligence. After each cycle, especially if you notice minor weeping, operators should inspect and clean these surfaces. A simple plastic scraper and a rag are often all that’s needed. Metal scrapers should be avoided as they can easily gouge or scratch the polypropylene or cast iron plate material, creating a permanent leak path.
The Importance of a Clean Routine
A little preventative maintenance goes a long way. Implementing a quick cleaning protocol at the end of each shift or batch can almost eliminate this problem.
- Inspection is Key: Train operators to visually inspect the sealing edges of each plate as they discharge the filter cake.
- Use the Right Tools: Always use soft plastic or wooden scrapers. Never use screwdrivers, metal putty knives, or wire brushes on plate surfaces.
- Thorough Cleaning: For stubborn buildup, a low-pressure water hose can be effective. Ensure the plates are dry before closing the press again.
- Check Gaskets (CGR Plates): If you have Caulked, Gasketed, Recessed (CGR) plates, ensure the gasket grooves are also free of debris. Any solid particle trapped under the gasket will cause a significant leak. I once visited a facility where a tiny wood chip lodged in a gasket groove was the source of a massive leak that had stumped the team for days. A two-minute inspection found the culprit.
Could Wrinkled or Incorrectly Installed Filter Cloths Cause a Leak?
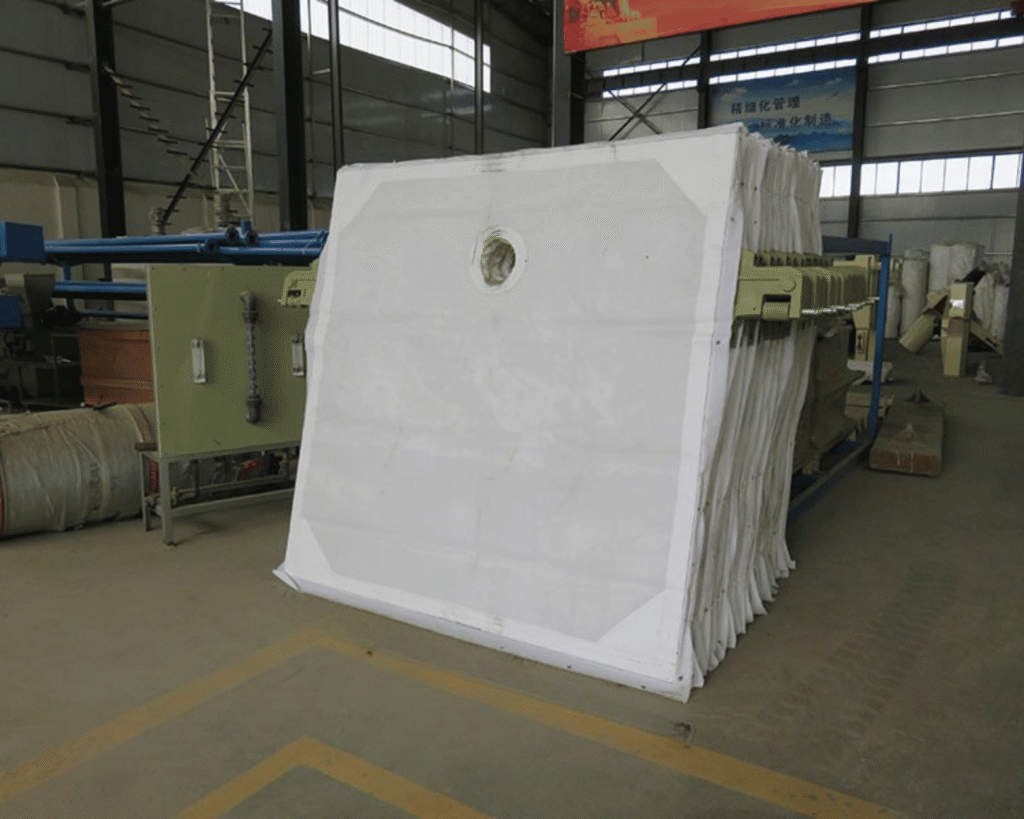
Your filter cloth is not just the filter medium; it’s also a critical part of the seal. If the cloth is wrinkled, folded over, or not sitting flat against the plate’s sealing surface, you’ve created a direct path for slurry to escape. This is a very frequent cause of filter press leaking.
This issue often occurs right after a cloth change. If the new cloth is not installed with care, or if it’s not the exact right size, it can easily bunch up as the press closes. The hydraulic system will still build pressure, but the gap created by the wrinkled cloth will allow slurry to spray out as soon as the feed pump starts.
The solution requires stopping the press, opening the plate stack, and carefully inspecting the cloth that corresponds to the leak. Look for any folds or creases, especially around the edges and sealing surfaces. The cloth must be perfectly smooth. Often, you can simply smooth out the wrinkle and close the press again.
Best Practices for Cloth Installation
Proper installation is a skill that prevents countless headaches. Here’s how to get it right:
- Stop and Open: Safely stop and open the press.
- Identify the Wrinkle: Locate the wrinkled cloth. It will almost always be directly adjacent to the leak.
- Reposition: Carefully smooth out the cloth, ensuring it is flat against the plate surface. Check that the cloth is centered and that the feed eye holes are perfectly aligned.
- Check Cloth Ties: For cloths that are tied on, ensure the ties are secure but not so tight that they pull the cloth out of position. For barrel-neck (dog-ear) cloths, make sure the neck is properly seated and secured in the feed hole.
- Close Slowly: “Jog” the press closed, visually checking that the cloths remain smooth as the plates come together. If you see a cloth starting to bunch, stop and readjust. Taking an extra 60 seconds here can save you an hour of cleanup.
Is Your Filter Press Leaking Due to Torn or Worn-Out Filter Cloths?
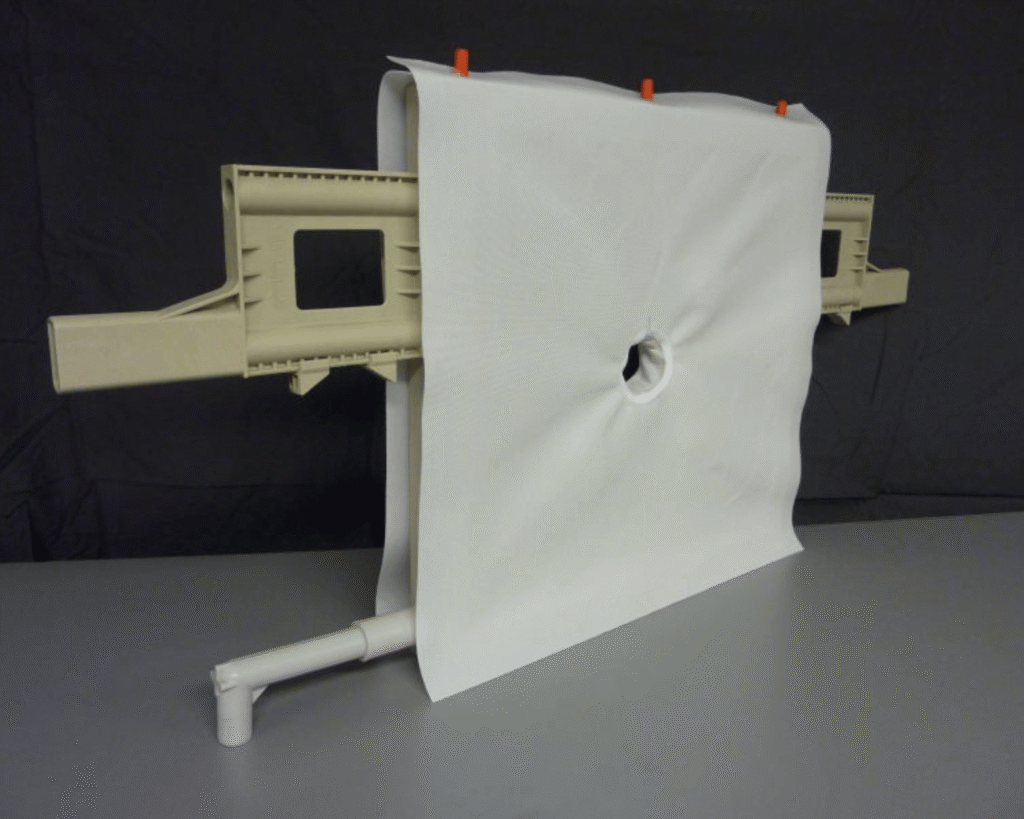
While a wrinkled cloth creates a path around the seal, a torn or worn-out cloth creates a path through the filtration medium itself. This can manifest in two ways: a slurry leak between plates if the tear is on the sealing edge, or cloudy/turbid filtrate if the tear is in the main body of the cloth.
Filter cloths are consumable items; they have a finite lifespan. Over time, the abrasive nature of the slurry, chemical attack, or high pressures will cause them to wear out, stretch, or tear. A hole or tear allows solids to pass through, either contaminating your filtrate or, if near the edge, preventing a proper seal.
The only solution for a damaged filter cloth is replacement. Trying to patch a cloth is a temporary fix at best and usually fails quickly under pressure. It’s more cost-effective to replace it immediately than to deal with the consequences of ongoing leaks and poor filtration.
Selecting and Maintaining the Right Cloth
Choosing the correct filter cloth is as important as any other part of your press.
- Material Compatibility: Ensure the cloth material (e.g., polypropylene, polyester, nylon) is chemically compatible with your slurry and operating temperature.
- Weave and Permeability: The cloth’s weave and micron rating must be appropriate for your particle size to ensure good filtration and cake release. Using a cloth that’s too “open” can lead to solids bleeding through, especially at the start of a cycle.
- Proper Fit: The cloth must be manufactured to the exact dimensions of your filter plates. A cloth that’s too small will stretch and tear, while one that’s too large will wrinkle.
- Regular Inspections: Implement a routine inspection schedule. When a press is open for cake discharge, operators should perform a quick visual scan for any obvious signs of wear, especially around the feed eyes and sealing edges, which are high-stress areas. Keeping a log of cloth changes for each press can help you predict lifespan and schedule preventative replacements.
What if Damaged or Dislodged Sealing Gaskets Are the Problem?
If your press uses Caulked, Gasketed, Recessed (CGR) plates, the rubber O-ring style gasket is the primary sealing element. While this design provides an excellent seal, the gaskets themselves can become a source of filter press leaking if they are damaged or dislodged.
A CGR gasket can be cut or abraded by sharp particles in the slurry. It can also be pushed out of its groove if the cloth is installed improperly over it or if the closing pressure is applied too quickly. Any nick, cut, or flat spot on the gasket, or any section that is not properly seated in its groove, will create a leak path under pressure.
Fixing a gasket issue requires opening the press and carefully inspecting the O-ring around the leaking plate. If it’s simply dislodged, you may be able to clean the groove and reinstall it. However, if the gasket is cut, stretched, or has a permanent flat spot, it must be replaced.
CGR Gasket Inspection and Replacement
Working with CGR plates requires attention to detail.
- Cleanliness is Critical: The gasket groove must be perfectly clean before installing a new gasket. Any debris will prevent it from seating correctly.
- Inspect, Don’t Assume: When you find a leak, run your finger along the gasket (with the press safely LOTO’d, of course). You can often feel a nick or a high spot that isn’t visible.
- Proper Installation: When installing a new gasket, make sure it is not twisted. A specialized caulking tool is often used to press the gasket securely into the groove without damaging it.
- Spares on Hand: Gaskets are a critical spare part. I always advise my clients to keep a stock of gaskets on hand to avoid extended downtime waiting for a replacement to arrive. The cost of a few spare gaskets is nothing compared to the cost of a non-operational press.
How Can Misaligned or Incorrectly Arranged Filter Plates Cause a Leak?
For a filter press to seal properly, the entire stack of plates must be perfectly aligned and in the correct order. If plates are misaligned, they won’t meet squarely, creating uneven pressure distribution and gaps along the sealing surfaces. This is a sure-fire recipe for a filter press leaking.
Alignment issues can be caused by worn overhead trolley wheels, damaged shifter components, or simply by an operator accidentally misplacing a plate during cake discharge. Additionally, presses often have a specific plate arrangement (e.g., Plate 1, Plate N, Head Plate, Tail Plate) that must be followed. Putting a plate in the wrong position can lead to major leaks or even damage.
Correcting this requires opening the press and visually inspecting the entire plate stack. Check that each plate is hanging correctly on the sidebars and that the top of each plate is flush with its neighbors. Confirm the plate sequence against the manufacturer’s diagram.
Maintaining Perfect Plate Alignment
Alignment isn’t just a setup issue; it’s a maintenance task.
- Check the Sidebars: Ensure the sidebars on which the plates hang are clean and free of dried slurry buildup, which can cause a plate to sit unevenly.
- Inspect Hanger Brackets: The wheels or brackets on top of each filter plate should be intact and move freely. A broken wheel will cause a plate to sag and go out of alignment.
- Verify Plate Order: Most presses have a specific sequence. For example, a membrane press will have an alternating pattern of membrane and chamber plates. This order is critical. I once troubleshot a leak that was caused by two membrane plates being placed next to each other. This created a void where a chamber plate should have been, causing a massive leak as soon as the feed pump started.
- Use Alignment Marks: Many manufacturers put alignment marks or numbers on the side of the plates. Use these as a quick visual guide to ensure everything is in its proper place.
Could Cracked, Warped, or Damaged Filter Plates Be the Cause?
While less common than cloth or cleaning issues, a physically damaged filter plate is a serious problem that will cause a persistent filter press leaking. Plates can crack from hydraulic over-pressurization, uneven cake formation causing imbalanced loads, or thermal shock from feeding slurry that is too hot. Warping can also occur over time due to thermal stress.
A crack, even a hairline one, will propagate under pressure and create a leak path. A warped plate will not be able to sit flush against its neighbors, making a proper seal impossible, no matter how clean the surfaces are or how good the filter cloths are.
Inspecting for cracks requires a thorough visual check, sometimes after cleaning the plate. A crack on the sealing surface is a definite cause for a leak. If a plate is cracked or warped, there is no repair. The only solution is to replace the plate.
Preventing and Identifying Plate Damage
Filter plates are the heart of the press, and protecting them is paramount.
- Stay Within Specs: Never exceed the manufacturer’s recommended closing, feed, or (if applicable) squeeze pressures.
- Ensure Even Cake Formation: Address issues like blocked feed ports immediately. An uneven or incomplete filter cake puts immense, unbalanced stress on the plates.
- Control Temperature: Do not introduce fluids that are significantly hotter than the plate material’s rating. Polypropylene, for example, can warp if exposed to temperatures above its design limit (typically 180-200°F or 80-95°C).
- Careful Handling: While robust, plates can be damaged if dropped or mishandled during removal or installation.
- Tap Test: For a suspected but not visible crack, you can sometimes perform a “tap test.” A solid plate will have a dull thud, while a cracked plate may have a slightly different, more “hollow” or “rattling” sound. This is an old-school trick, but it can work.
Conclusie
A filter press leaking is a solvable problem. The key is to abandon guesswork and adopt a methodical troubleshooting process. By understanding that different types of leaks point to different causes, you can use the location and timing of the leak as your guide. Start with the simplest and most common issues—cleanliness and cloth condition—before moving on to pressure settings, alignment, and hardware inspection. Remember to always prioritize safety by following proper LOTO procedures before any hands-on work. By treating small drips as the important warning signs they are, you can prevent minor issues from escalating into major downtime and costly repairs.